
- Rectangle/Ellipse: The rectangle and ellipse have no special parameters on the Options bar; however, they both behave much like their counterparts among the selection tools.For example, you can hold down the Shift key while dragging a shape to produce a perfect square or circle; hold down Shift+Alt (Shift+Option on the Mac) to draw the shape outward from the center. You have other Geometry options (gear icon) that let you determine how you draw the shapes (unconstrained, fixed size, from center, and so forth).
- Rounded Rectangle: This shape has the same options as the rectangle shape, with the addition of an option in which you can type the radius of the circle used to round the corners of the rectangle.
- Polygon: Specify the number of sides (from 3 to 100) you want for the polygon, as well as Geometry options, such as Smooth Corners. And if you want a star-shaped polygon, you can also specify how much to indent and whether those indents are smooth.
- Line: You can give the line shape a width from 1 to 1,000 pixels. You can also enter parameters for an arrowhead at either or both ends. As for geometry options, you can specify width, length, and concavity of the arrowheads.
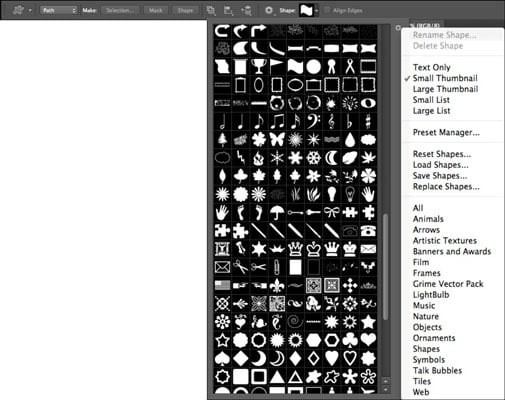
- Custom: You can find numerous preset custom shapes to choose from. As with any shape, you hold down Shift to constrain proportions or Alt (Option on the Mac) to draw from the center out.
- Select the mode for the shape you want to draw from the Tool mode pop-up menu on the Options bar.Here’s a list of ways in which you can create a shape (all options are on the Options bar):
- Shape: Create a shape on a new vector shape layer. Note the square icon on the shape layer in the Layer panel.The Shape mode is a good choice if you want to keep your shapes in separate layers so you can manipulate them further. The shapes remain completely editable until you choose to change them into pixels by choosing Layer→Rasterize→Shape.
- Path: Choose Path to create a shape with a path, which “hovers” over your image. The shape appears as a path that you can edit by using the Pen tools and the Paths panel.
- Pixels: Click this icon to create a shaped area filled with the foreground color. This option doesn’t produce a vector shape, but instead fills the shape with pixels. The process is similar to filling a selection created with the Rectangular or Elliptical Marquee tools or painting on your canvas with a painting tool.When you select this mode, the Options bar includes choices that let you specify a blending mode, the transparency of the filled area, and whether you want the area anti-aliased. You can’t edit a shape created with this option, except to modify the pixels.
- Be sure to create a new layer before drawing with the Pixels mode. Otherwise, you will draw your shape on whatever layer happens to be active in your Layer panel and that may make any future editing difficult.
My Youtube Channel

Click the logo
Featured Post

Popular Posts
-
 FEDERAL BOARD OF INTERMEDIATE AND SECONDARY EDUCATION DATE SHEET FOR SECONDARY SCHOOL CERTIFICATE ANNUAL EXAMINATION 2019 It is he...
 -
 Photography is the art, application and practice of creating durable images by recording light or other electromagnetic radiation, eit...
 -
 11 Tips to Boost Your Android Phone's Battery Life Today's Android phones pack big bright screens and high-end features that...
 -
First open the photoshope and create new page then open your channel logo and some picture related your videos topics and adjust the pag...
-
How to change YouTube custom URL Meet eligibility requirements Sign in to YouTube Click on your profile picture in the top right cor...
-
 How to Change Folder Icon to a Custom One Choose the folder you want to customize FolderIco offers you two options: select one of ...
 -
 Quick Logo Animation The Quick Logo Animation template features soft light animations, and a clean, modern look. It is a good way to q...
 -
 How to write Urdu and Arabic in Photoshop CS6 For many years we have used InPage to write Urdu and to create graphics with Urdu te...
 -
 Secret WhatsApp tricks you (probably) didn't know about We've rounded up some top tips for everyone's favourite instan...


